DIY Scented Bath Bomb
Bath BOMBS! If you have ever thrown one in the bath with young kids, you will know how much fun they will have with them. My oldest child’s mind was totally blown the first time I showed it to him. He kept spacing out and muttering “it popped” for days after his first experience, and ever since, he has loved them.
But we can’t always buy everything the kids want, especially not a whole year's supply of fizzing fun. Luckily, with this recipe, you can make four bombs for much cheaper than the store-bought ones, and without all the long, chemical names that go into the water and occasionally into your children's mouths.
Homemade bath bombs make a great rainy day or lockdown activity for you and your child. Let them practise their mixing and pouring skills while teaching them about combining colours and scents. Just make sure to think ahead and add ingredients to your next shopping list.
Surely something like this requires a PhD in chemistry to pull off, you say? Not at all; follow my easy guide, and you'll be whipping up a batch in no time!
These bath bombs also offer a few additional benefits. The science behind scents has been around for a long time now: calming lavender to soothe the savage child, or menthol to clear the airways if your little one is a snot machine. There are many options to choose from, and they will come out smelling great too.
I prefer to use coconut oil as a base oil because it has several beneficial effects on the skin, including hydrating and anti-inflammatory properties, which make it particularly suitable for irritated, chafed skin. It also helps alleviate eczema.
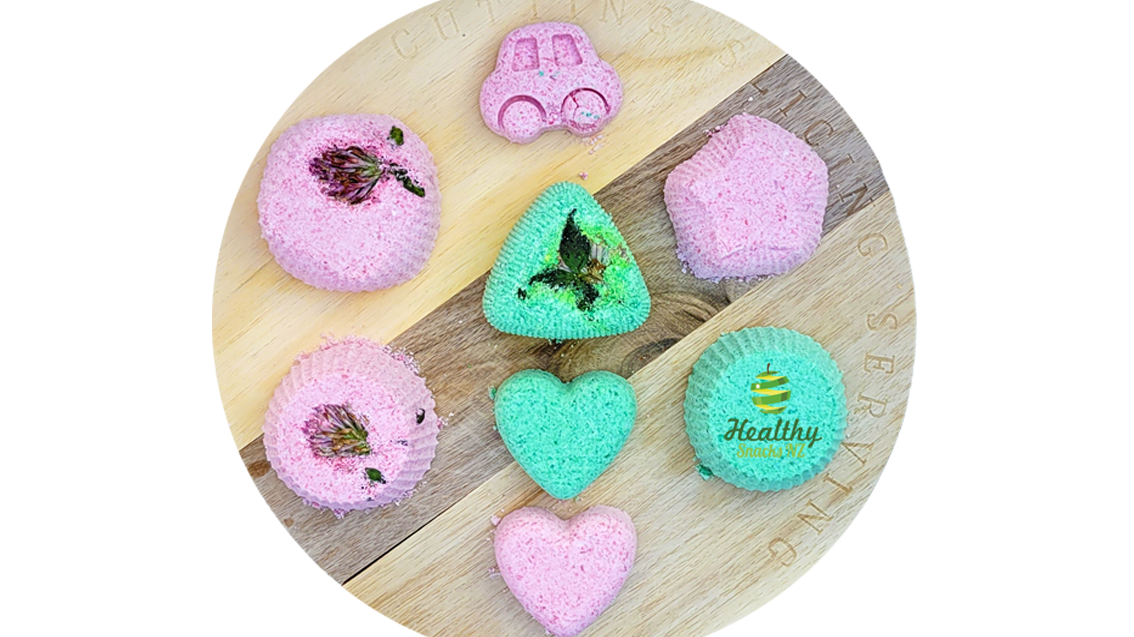
To make these bombs even better, put a flower or one of your kids' small plastic toys at the bottom of the mould before adding the mixture for an element of surprise while it fizzes in the bath.